How to process paid orders
Step 1
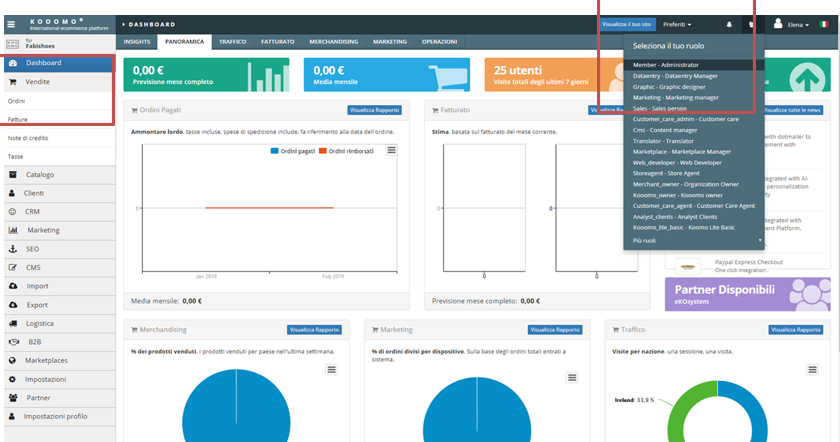
Access the platform with the role of Administrator.
Click on Sales and then the Orders tab to see the list of Orders.

Step 2
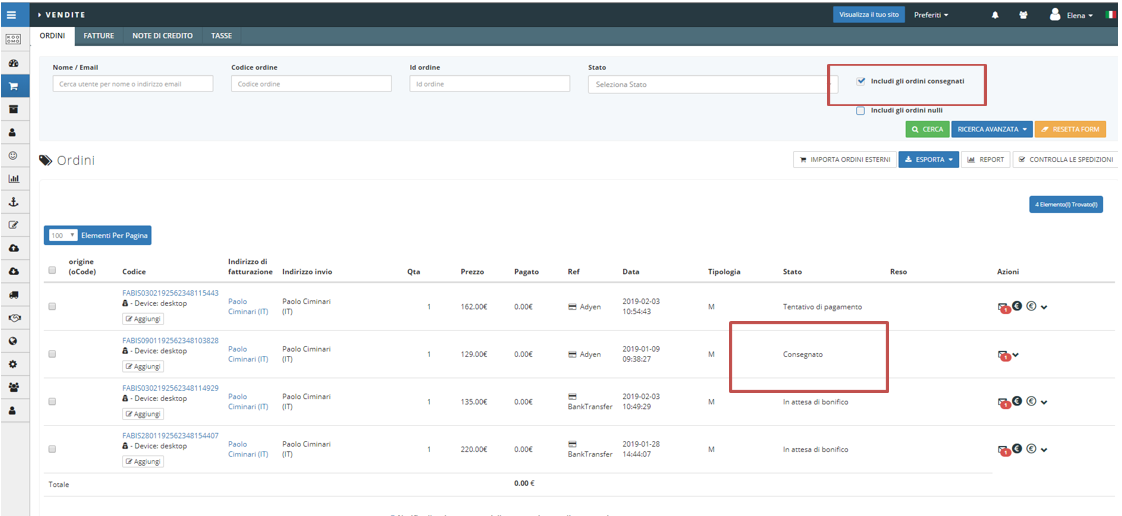
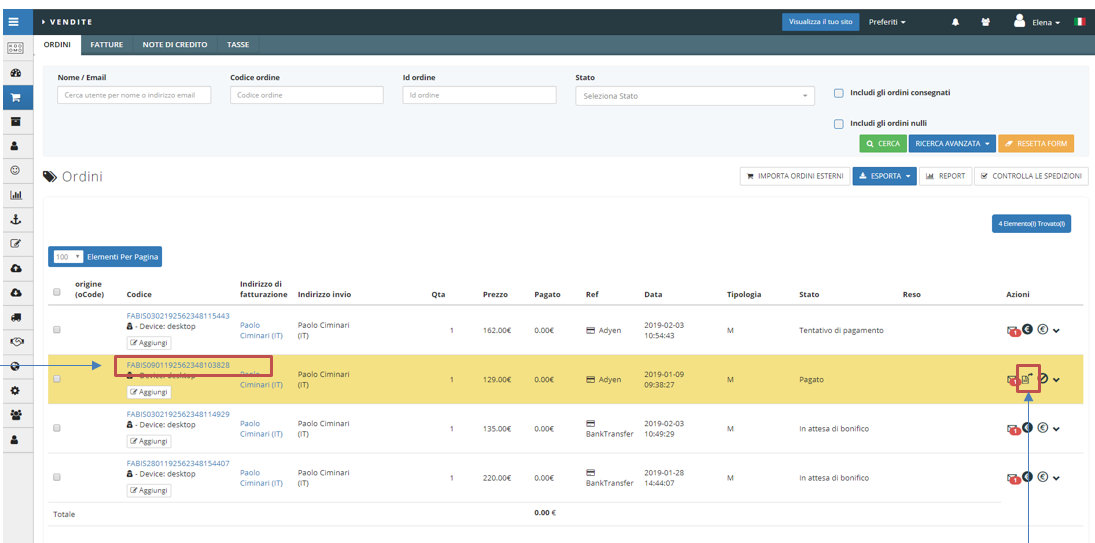
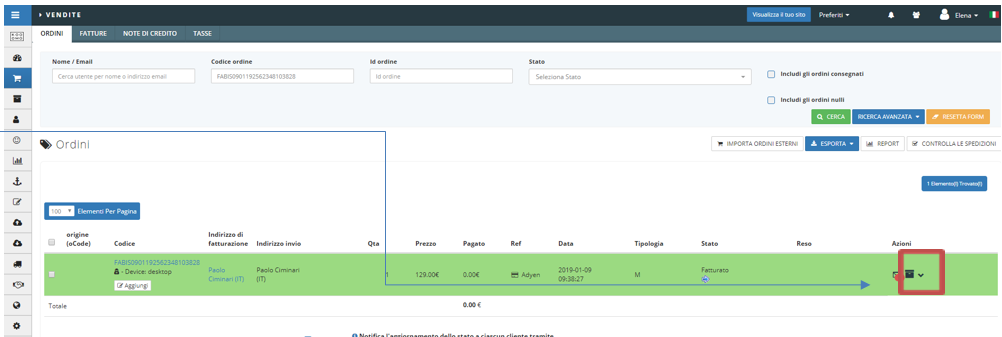
Orders in PAID status are those in yellow.
Right click on the order code to verify that the data within the order is correct.
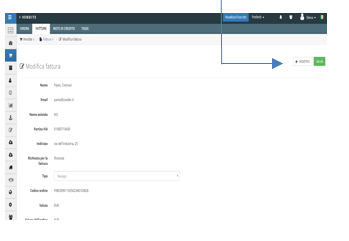
Click on the highlighted icon on the left to create the INVOICE.
Click on the green button on the left to SAVE the invoice.
Step 3
After creating the Invoice, the order status will change from PAID to INVOICED (green colour).
Click on the little arrows on the left to create the movement at the warehouse.
Click on the ok button to confirm .
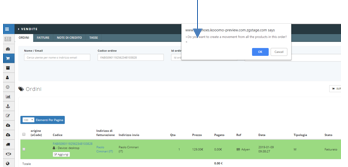
You will see a blue arrow below the invoice status that confirms the movement.
Step 4
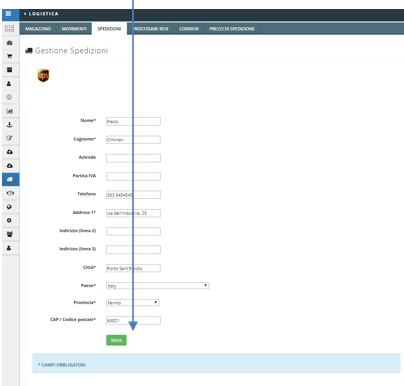
Click on the highlighted icon on the left to create the shipping label.
Click on the green button to confirm it.
Step 5
Switch your role from Administrator to Warehouse Manager.
Click on the Warehouse tab and then Welcome section.
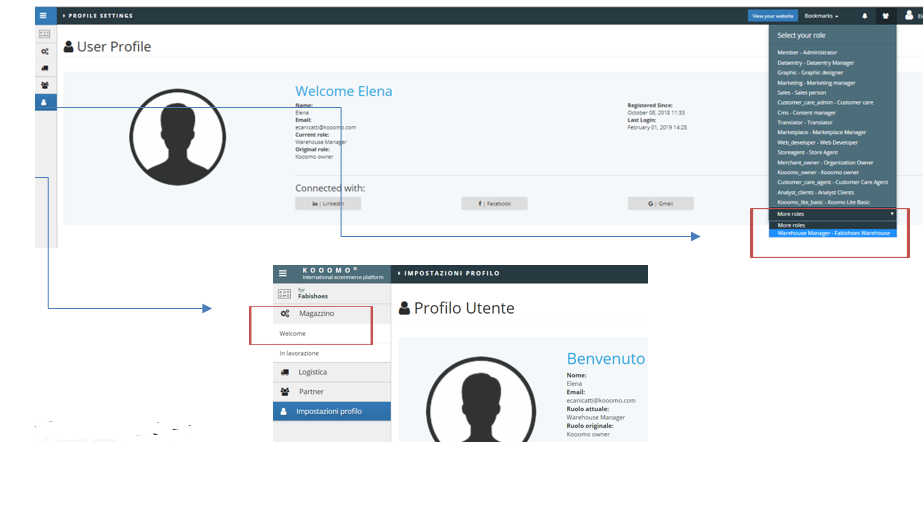
You will see the list of orders invoiced during the previous steps.
Click on the Lock button to block the order so that it cannot be changed again.
 Step6
Step6
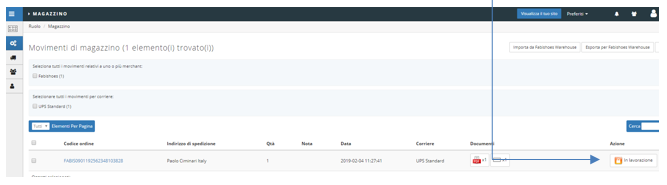
Click on the Warehouse tab and then Working section.
Click on the highlighted icon on the left to Apply the movement.
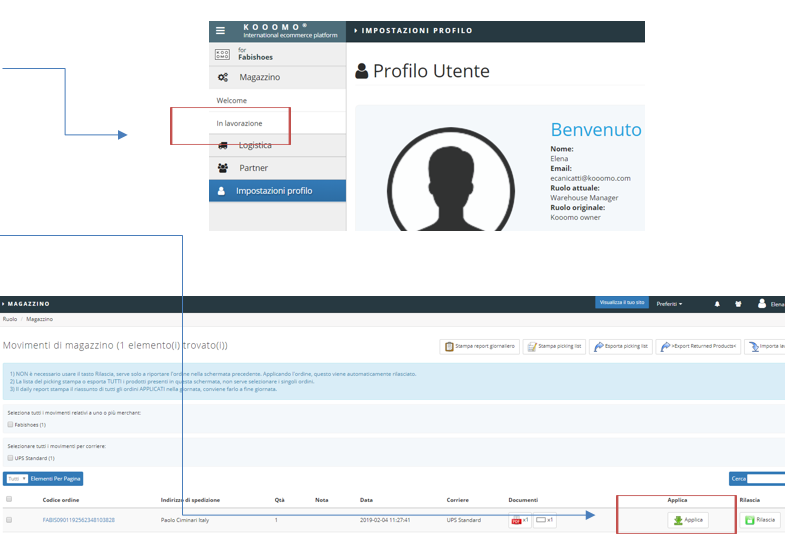
At this stage, the status of the order will change automatically to TO BE SENT.
Step 6
Switch your role from Warehouse Manager to Administrator and back to the Sales Orders tab.
You will see your processed order that appears in status: TO BE SENT.
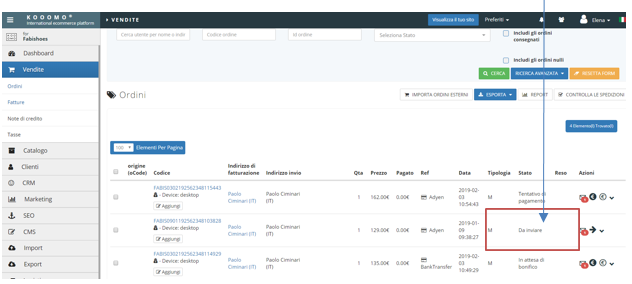
At this stage, the order is ready to be picked up by the courier and once the order is delivered the status will change to: DELIVERED
Note:
On the Sales Orders tab you will be able to see the delivered orders if tick into the box Include delivered orders